DIY Clarifying Toner Recipe + Homemade Skincare Tips

DIY CLARIFYING TONER RECIPE + HOMEMADE SKINCARE TIPS
Before we jump into the recipe, I want to provide a bit of background on homemade skincare. If you haven’t dabbled in this territory yet, it helps to understand a few basics. And if you are a homemade skincare expert, please share your favorites with me! I always love to try new recipes and appreciate recommendations. First up, let’s get organized.
STOCK YOUR KITCHEN
You may have done a double take when you read stock your kitchen. Aren’t we talking about skincare here? We are. And real deal homemade skincare starts in the heart of your home.
Food is a powerful way to supercharge your skincare routine. It is full of the essential nutrients our body needs to flourish, and full of antioxidants, acids, and compounds not found in manufactured ingredients. Plus, you are getting a super dose of these benefits by going straight to the source. Here are a few of my favorite ingredients for homemade skincare:
- Apple Cider Vinegar. ACV is good for so many uses, both internally and externally. On the surface, it helps exfoliate and balances your skin’s pH. This one makes an appearance in the following toner recipe, for good reason.
- Dried herbs. Also appearing in our toner recipe, dried herbs are powerful for skincare. Full of natural anti-bacterial, anti-microbial, and anti-viral goodness, they can help treat a variety of skin concerns.
- Fresh fruit. Every fruit comes with its own special benefits. Banana and avocado are great for moisturizing skin. Acidic fruits like strawberries, pineapple, and papaya are great for exfoliating and renewing skin.
READY YOUR EQUIPMENT
Before you prepare your DIY toner, it is best to practice Mies en place, or basically getting everything set and ready. You don’t need much, but the entire process will be more efficient if you prepare in advance.
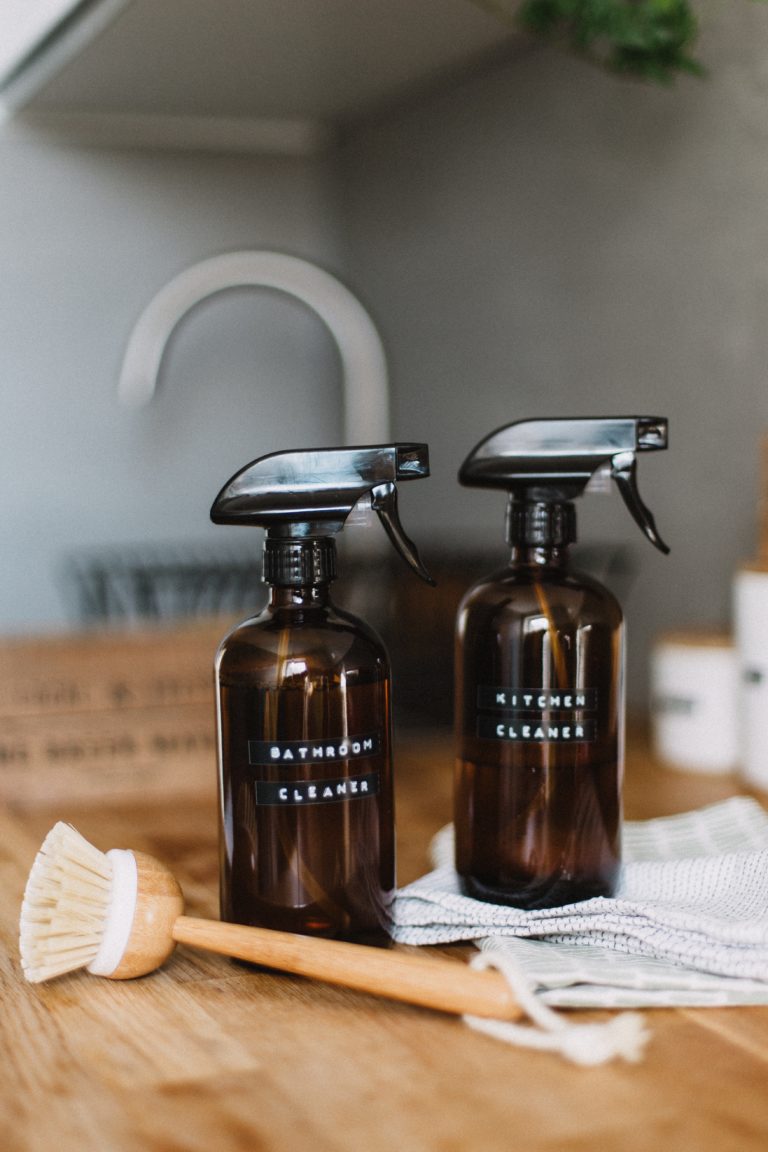
First, you will need a few small Mason jars. I personally like the small jelly jars for soaking the ACV, and the pint size jars for storing the completed concentrate. Then once you go to mix your toner, I prefer amber glass spray bottles to help keep the mixture fresh and safe from light and air.
I also count on a small mesh strainer to assist with draining the ACV and herb mixture. Plus, you may want to opt for a small funnel to assist with the mixing process.
CLEAN + STERILIZE
When you are making your own skincare, you need to prep your tools and containers just like you would if you were canning. Thoroughly cleaning and sterilizing all items is of the utmost importance to prevent any bacteria or unwanted materials in your final product.
Typically you hand wash everything in hot soapy water, then sterilize glass jars and metal lids in either boiling water or in the oven. Not familiar with sterilizing jars? See this tutorial for the boiling water method, or try this simple oven method.
PERSONALIZE INGREDIENTS
Last and certainly not least, feel free to substitute ingredients and even leave some items out. Based on what your skin needs, some ingredients may work better than others.
For instance, the following toner recipe works for all skin types, but especially benefits those with oily, congested, or acne-prone skin. If you have drier skin, you want to use moisturizing oils such as Rose hip or Argan in place of the tea tree.
If you have especially sensitive skin, you may want to heavily dilute the toner concentrate, and patch test an area before using. You can easily build up to a higher concentration once you get used to the ingredients. See the recipe notes for more suggestions.
FAVORITE TONER USES + BENEFITS
Although this toner is used most often for the face, you can also use this all-purpose refresher for the following:
- Refresh after a workout. Using a cotton ball, wipe face clean to refresh skin until you can get in a full face washing. Also spray on chest or underarms to balance skin after sweating.
- Balance skin. The combination of ACV and which hazel help balance the moisture and pH levels of the skin. Which leaves you with softer, less oily, and more nourished surface.
- Gentle exfoliation. The fruit acids in the vinegar and clarifying nature of witch hazel both help to gently exfoliate skin without harsh chemicals.
- Naturally fights bad bugs. The herbs used in this recipe are both anti-bacterial/microbial, which help to fight acne causing bacteria. ACV is also effective at fighting yeast and fungus, which can also help with issues like athlete’s foot and yeast rashes.
That my friends, is DIY Clarifying Toner Recipe + Homemade Skincare Tips. What are your best natural skincare tips? Let me know in the comments!
We would love for you to follow Well Rooted on instagram and tag your recipes with #the.WellRooted.life! You can also share photos on facebook. Thanks for your support!
DIY Clarifying Toner Recipe + Homemade Skincare Tips
Materials
- 1 small glass mason jar with lid
- 1/4 cup raw organic apple cider vinegar with the mother
- 1 tablespoon dried organic thyme or thyme essential oil
- 1 tablespoon dried organic rosemary or rosemary essential oil
- 1 pint size glass mason jar with lid
- Small fine mesh strainer
- 1/2 cup alcohol free witch hazel
- 2-4 drops pure tea tree essential oil or sub with Rose hip or Argan for dry skin
- 1 cup vapor distilled or reverse osmosis water if needed
- Amber glass spray bottle
Instructions
Vinegar Concentrate
- In your small mason jar, add Apple cider vinegar and dried herbs. Close tightly with lid and set in a cool dark place to marinate for 1-2 weeks. Shake the jar every few days to keep the ingredients from settling. Alternatively, skip to the Toner Base step and add essential oils along with the witch hazel.
- Once steeped, throughly clean all tools and sterilize the pint size mason jar. Balance mesh strainer over the jar and strain steeped vinegar into the clean jar. Discard dried herbs. Toner concentrate will keep in an airtight jar in the refrigerator for several months. Use to mix into toner as noted below.
Toner Base
- In an amber glass spray bottle fill 1/4-1/2 of the container with your toner concentrate, as noted in the variations below. Add equal parts witch hazel, then tea tree oil or essential oils. Dilute further with clean filtered water if needed. Shake to combine, and shake well before each use.
Sensitive Skin Toner
- Fill 1/4 of your container with the concentrate, equal parts witch hazel, 1-2 drops tea tree oil, then fill remaining bottle with water.
Combination Skin Toner
- Fill 1/3 of your container with the concentrate, then follow with the remaining steps listed above.
Oily/Acne-prone Skin Toner
- Fill 1/3-1/2 of your container with the concentrate, then follow with the remaining steps listed above.
Notes
- This toner is great for the face and body. Use after washing your face to balance, tone, and remove any last bits of dirt and oil.
- Spritz all over after a workout, and use prior to deodorant, to reduce odor and balance pH.


