| | |

Easy 4 Step Nut or Seed Milk + How to Use Leftover Pulp

I am here to show you just how simple, affordable, and healthy it is to make your own nut or seed milk at home. It may seem easier to purchase those mainstream store brands, and sometimes you may just have to. But if you have 10 minutes, a couple of household kitchen tools, and a handful of your favorite nuts or seeds, you can have clean healthy nut milk. This is Easy 4 Step Nut or Seed Milk + How to Use Leftover Pulp.

Easy 4 Step Nut or Seed Milk + How to Use Leftover Pulp|4 Step Easy Homemade Nut or Seed Milk|Easy 4 Step Nut or Seed Milk + How to Use Leftover Pulp|Easy 4 Step Nut or Seed Milk + How to Use Leftover Pulp|Easy 4 Step Nut or Seed Milk + How to Use Leftover Pulp|Easy 4 Step Nut or Seed Milk + How to Use Leftover Pulp|Easy 4 Step Nut or Seed Milk + How to Use Leftover Pulp|Easy 4 Step Nut or Seed Milk + How to Use Leftover Pulp|Easy 4 Step Nut or Seed Milk + How to Use Leftover Pulp|A simple 4 step system to create the ultimate nut milk or seed milk at home. Plus

BENEFITS OF HOMEMADE NUT OR SEED MILK

Before we get into the details of creating your own nut milk, let’s review why it is important to make it on your own.

First, it really is simple. Not exaggerating even a little. All you have to do is select your favorite nuts or seeds, soak them 4 hours or overnight, rinse, blend with water and flavorings, and press through a milk bag. Then voila, homemade nut milk!

Second, it is far less expensive, and avoids waste, when you make your own. Case in point, one pound of raw almonds will make about 16 cups of homemade milk (4 batches of about 4 cups each). Plus, you can reuse all the leftover almond pulp to make your own almond flour. More on that later.

Easy 4 Step Nut or Seed Milk + How to Use Leftover Pulp

Nuts and seeds are full of vitamins and minerals, and are obviously plant-based. Which is why nut and seed milk is a staple for those following a Vegan and Paleo lifestyle. Not only that, but by soaking nuts and seeds, and blending them into milk, you are breaking down their tough exterior and making them easier to digest.

Another great benefit of nut milk, and why many turn to it, is for its ability to replace traditional dairy milk. As we have reviewed in the past, lactose is an issue for a large portion of the population. It can cause digestive distress in many, is the cause of major allergies, and some even believe it has no nutritional benefit at all.

4 Step Easy Homemade Nut or Seed Milk

Lastly, and certainly not least, you cannot get healthier cleaner milk anywhere else. Homemade milk ensures there are zero fillers, thickeners, preservatives, sugar, and any other number of ingredients you may find in store-bought milks. It is truly your milk, your way.

Now that we know all the benefits of making milk, let’s review some of the options for creating and flavoring your own mixtures.

Easy 4 Step Nut or Seed Milk + How to Use Leftover Pulp

A note on quality: whatever nut or seed you choose to create your milk, make sure you are purchasing clean, raw, and organic if possible. You do not want roasted nuts or seeds that include salt or oils, or any added flavors.

NUT OR SEED MILK FLAVORS

Your milk flavor options are pretty much endless, but to get you started, here are a few of our favorites.

Easy 4 Step Nut or Seed Milk + How to Use Leftover Pulp
  • Almond Milk. Certainly the most popular and versatile of milk options, almond is always a winner. You can generally find organic raw almonds in most stores now, and they are becoming more affordable. I highly recommending starting here, then branching out to other flavors and combinations.
  • Pecan Milk. This one is by far my favorite. It has a slight maple flavor on its own, then if you add a little maple syrup and pinch of sea salt, it really amps up this profile. Bonus that pecan flour also happens to be one of my favorite baking flours.
  • Macadamia Milk. Macadamia nuts are creamy on their own, so you can imagine the rich indulgence they create when made into milk. They tend to be on the more expensive side, so consider saving this one for special occasions. I can tell you though, this is one heck of a nut milk. It also makes incredible ice cream.
  • Cashew Milk. Oddly not a nut at all, the cashew makes another great neutral creamy milk option. Which is why many use them to create cream sauces, cream “cheese” desserts, and ice cream.
  • Sunflower Milk. I love sunflower seeds. They are the closest replacement to peanuts that I have found, both in texture and flavor. Thankfully sunflower seed milk is just as good as sun butter.
  • Hemp Milk. Another popular milk in the Vegan community, this seed also yields creamy rich milk. The flavor is very neutral which makes it a great base for other uses.

Once you select your base flavor, it is time to pick your mix-ins. Many of these nut and seed milks are great on their own, but you can add any of the following to amp up the flavor.

Easy 4 Step Nut or Seed Milk + How to Use Leftover Pulp

FLAVOR MIX-INS

  • 1 teaspoon – 1 tablespoon maple syrup, to taste. This adds some subtle sweetness and enhances the nutty flavor of your milk.
  • Pinch of sea salt. This actually acts as a mild preservative, and rounds out the sweet and earthy flavors already present.
  • 1 teaspoon – 1 tablespoon vanilla extract, or contents of 1 vanilla bean, to taste. This helps enhance the sweet flavor and adds even more richness.
  • 1 tablespoon coconut oil. This extra bit of high-quality fat lends an even creamier texture to your milk.
  • Personally, I like to add all the above on occasion for an extra indulgence.
Easy 4 Step Nut or Seed Milk + How to Use Leftover Pulp

TURN LEFTOVER PULP INTO FLOUR

Once you make your milk, you are left with a good amount of nut or seed pulp. It seems a shame to throw all that away, especially when you can reduce reuse and recycle. What can you do with it you might ask? The most useful, and simple method, is to turn it into homemade flour.

Almond flour is an incredibly common gluten-free and grain-free baking flour, but it gets expensive. Thankfully, you can make your own for less than half the cost of those store-bought varieties. All other nut and seed pulp can also be used as flour, just note that the consistency and texture will vary.

To make your nut or seed flour, simply line a baking sheet with parchment and pre heat your oven to 200 degrees F. Transfer pulp to the baking sheet, and break into smaller pieces. Bake in the oven for 2-3 hours, or until mixture is dry and flaky. Toss pulp often, breaking up larger pieces to help it evenly dry out. Once dry, pulse the flour in a high powdered blender or food processor until flour is fine and no large chunks remain. Store in the freezer until ready to use.

USE THE GUIDELINES ABOVE, ALONG WITH OUR BASE RECIPE BELOW, TO MAKE YOUR ULTIMATE NUT OR SEED MILK. THEN, COME BACK HERE AND SHARE YOUR FAVORITES WITH US!

Easy 4 Step Nut or Seed Milk + How to Use Leftover Pulp

We would love for you to follow Well Rooted on instagram and tag your recipes with #the.WellRooted.life! You can also share photos on facebook. Thanks for your support!

This post contains affiliate links. View our full disclosure here, or contact us. 

Easy 4 Step Nut or Seed Milk + How to Use Leftover Pulp

Easy 4 Step Nut or Seed Milk + How to Use Leftover Pulp

A simple 4-step system to creating the ultimate nut or seed milk at home. We also provide tips to create your favorite combination, using any nut or seed of your choice.
No ratings yet
Prep Time 4 hours 30 minutes
Total Time 4 hours 30 minutes
Course Drinks, Sides
Cuisine American
Servings 4 cups

Ingredients
  

Milk

  • 1 cup nuts or seeds of choice see notes within post
  • 4 cups water for soaking
  • 4 cups filtered water for milk
  • 1/4 teaspoon sea salt
  • 1 teaspoon - 1 tablespoon Maple syrup to taste (optional)
  • 1 teaspoon - 1 tablespoon vanilla extract to taste (optional)

Nut or Seed Flour

  • Leftover pulp from making milk

Instructions
 

Milk

  • Add 1 cup nuts or needs to a large glass bowl or container, and fill with 4 cups of water. Cover container and set aside to soak for at least 4 hours, or overnight.
  • After soaking, discard water and rinse nuts or seeds thoroughly. Then transfer cleaned nuts or seeds to a high powdered blender or food processor.
  • Add 4 cups clean filtered water, along with optional flavorings. Blend mixture on high for several minutes, until completely combined and creamy.
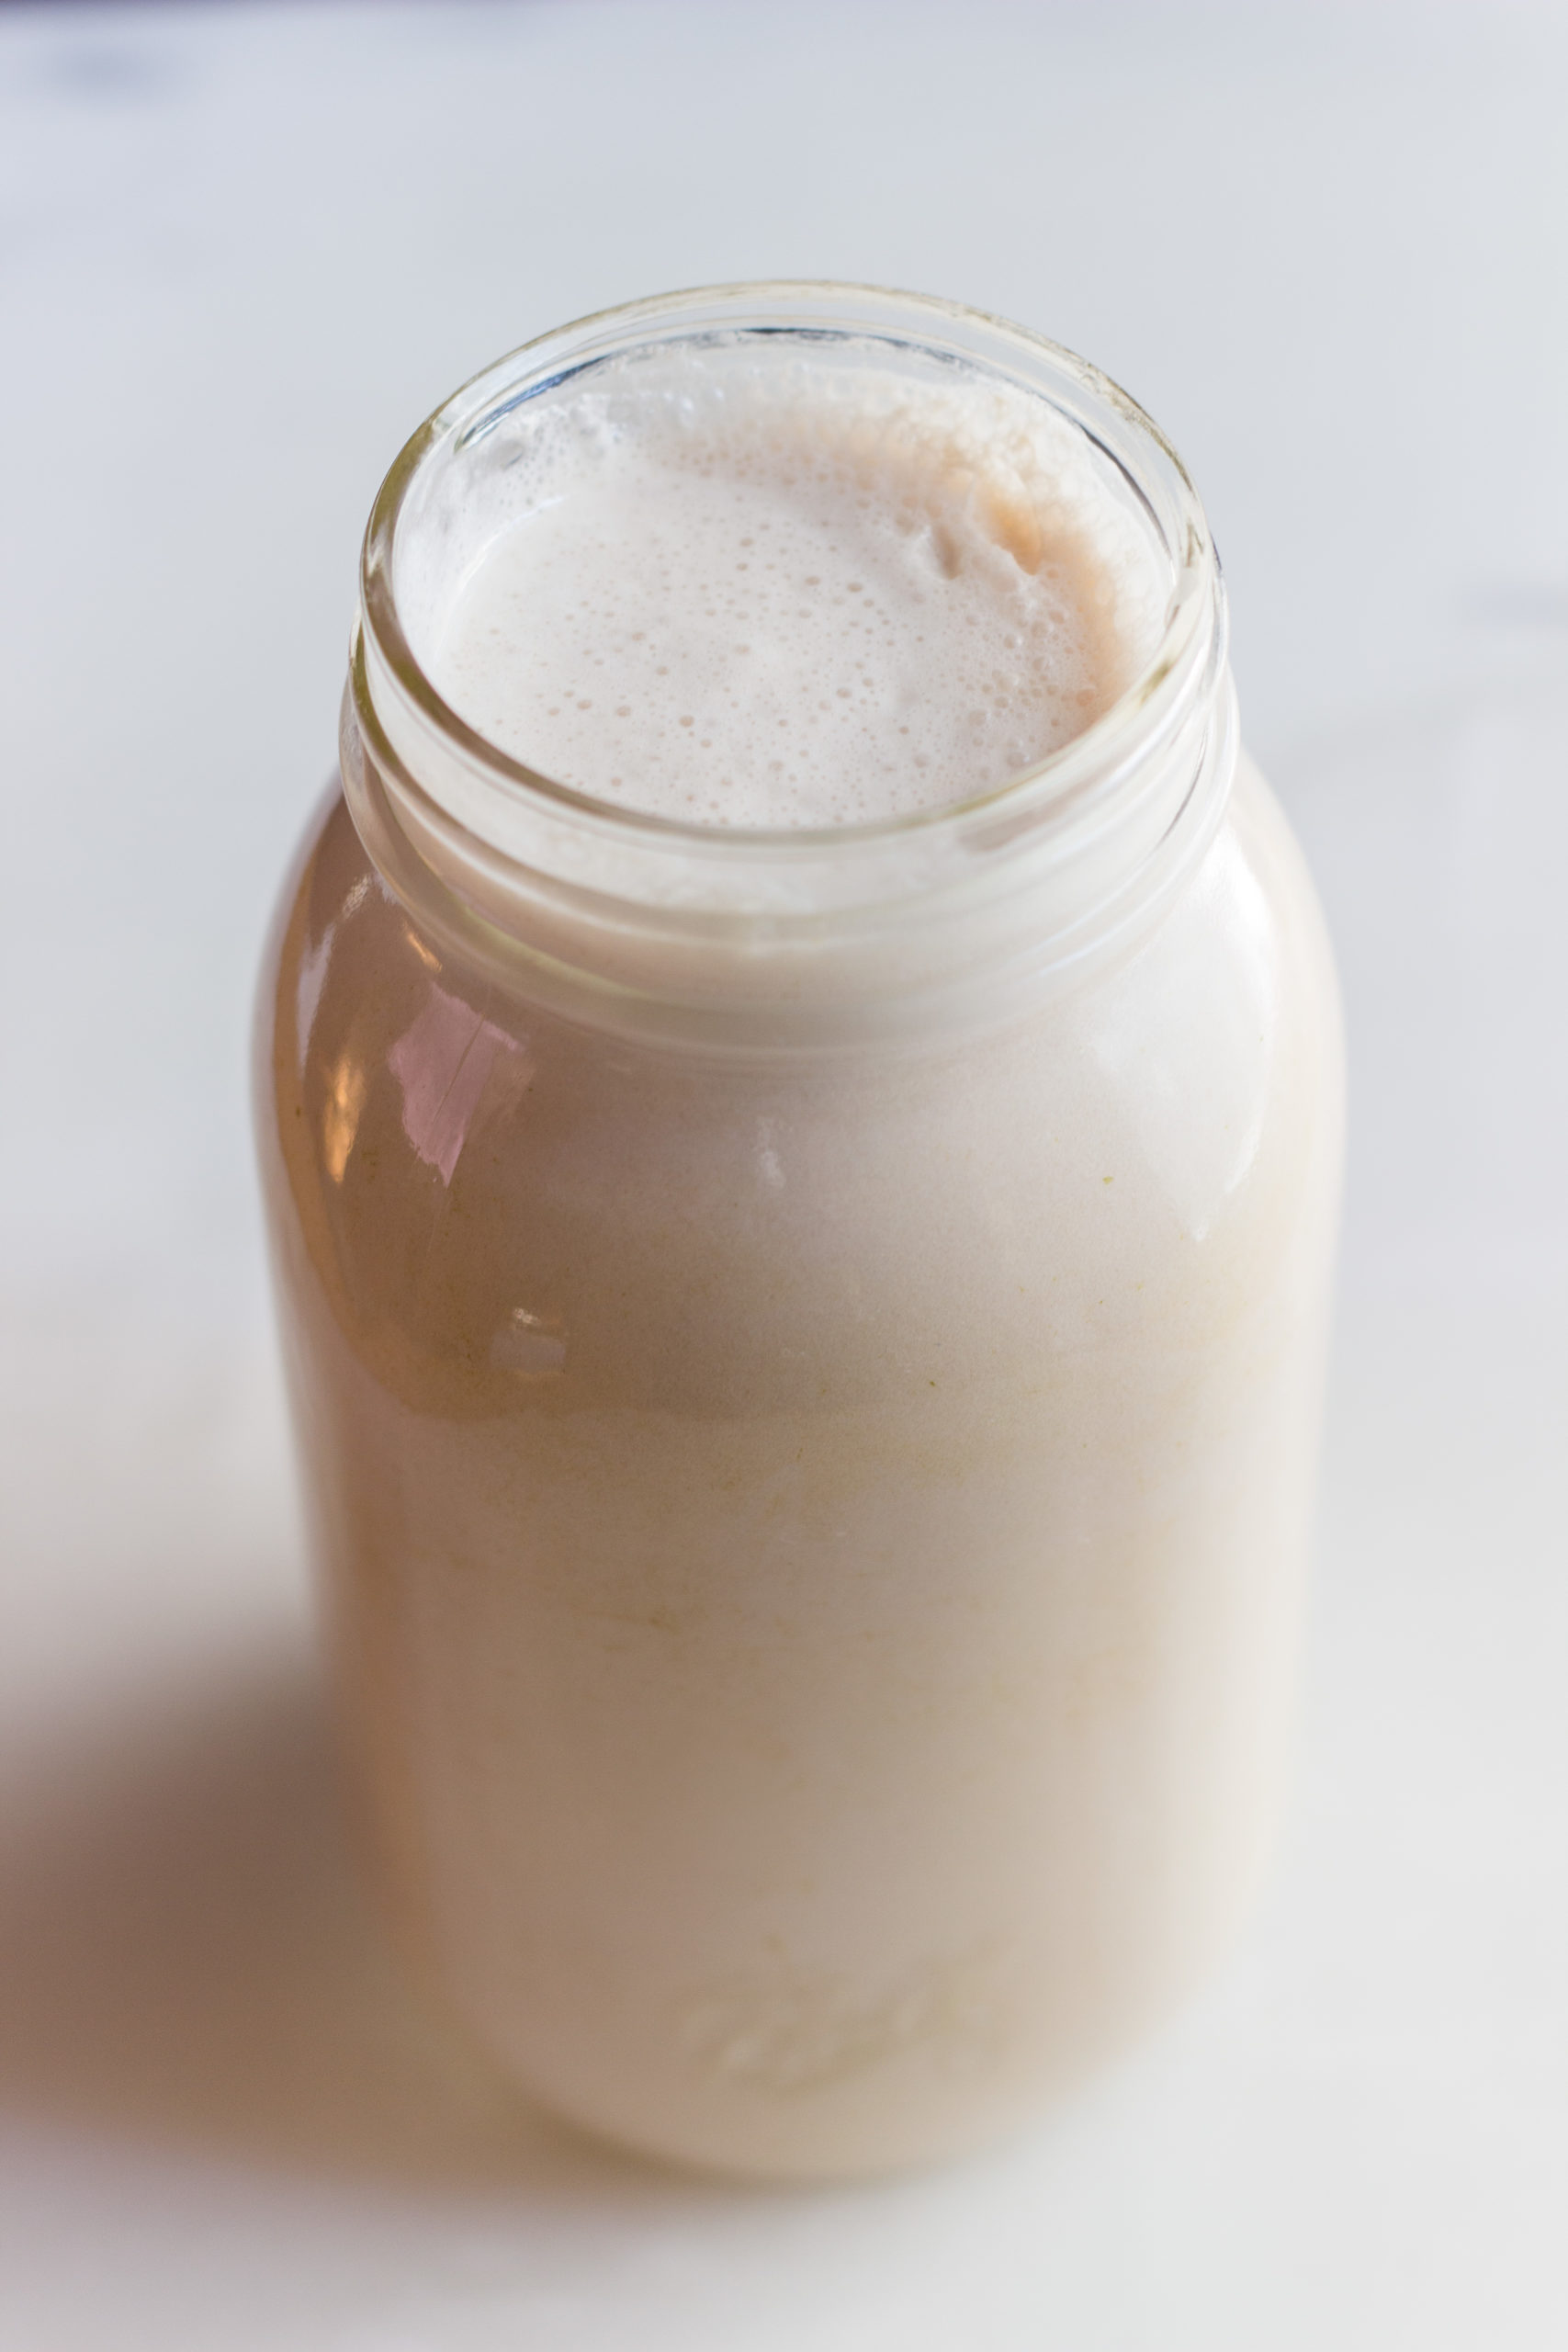
  • Line a large bowl with a nut milk bag, and pour milk mixture into nut milk bag. Squeeze and twist milk through the bag until all liquid is extracted. Transfer milk to a mason jar or container and enjoy within 5 days.

Flour

  • Line a baking sheet with parchment and preheat your oven to 200 degrees F. Transfer pulp to the baking sheet, and break into smaller pieces.
  • Bake in the oven for 2-3 hours, or until mixture is dry and flaky. Toss pulp often, breaking up larger pieces to help it evenly dry out.
  • Once dry, pulse the flour in a high powdered blender or food processor until flour is fine and no large chunks remain. Store in the freezer until ready to use.

Notes

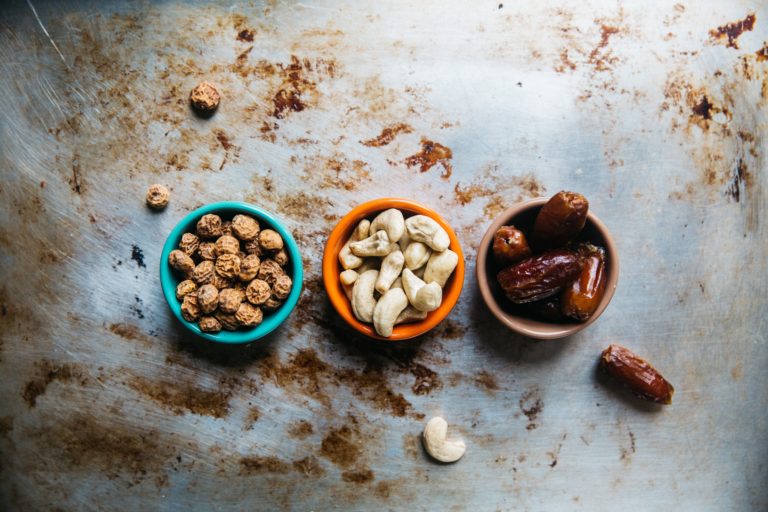
  • Almonds, pecans, macadamias, cashews, sunflower seeds, and hemp seeds all make great milks. Experiment and see what you like best.
  • The milk is great on its own, but feel free to add maple syrup or honey to sweeten, vanilla extract, bean, or paste, and even cinnamon for a special touch.
Keyword Dairy free, Drinks, Gluten Free, How to, Make ahead, Nut milk, Paleo, Vegan
Tried this recipe?Let us know how it was!

Similar Posts

Leave a Reply

Your email address will not be published. Required fields are marked *

Recipe Rating